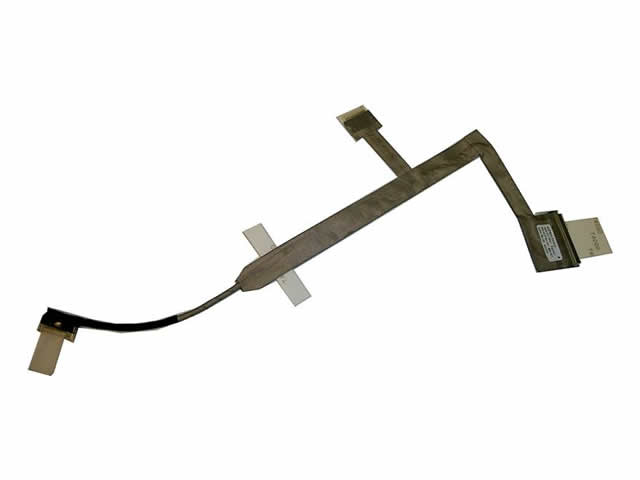
- For Acer LCD Cable
- For Asus LCD Cable
- For Compaq LCD Cable
- For Dell LCD Cable
- For Gateway LCD Cable
- For HP LCD Cable
- For Lenovo LCD Cable
- For Sony LCD Cable
- For Samsung LCD Cable
- For Toshiba LCD Cable
ACER 50.47N01.001 LCD Cable

Video Cable for ACER 50.47N01.001

Shopping for ACER 50.47N01.001 Laptop LCD Video Cable
Sale price : £ 20.99
 Shipping - Image only for reference,the correct one will be shipped out follow your model Or part number!All products can be shipped out on the next bussiness day from UK warehouse,we will do our best for you!
 Paypal Payment Mothod - PayPal protects your personal financial information with industry-leading security and fraud prevention systems. When you use PayPal (Credit Card or PayPal account), your personal financial information is not shared with any seller. Once your payment is completed, you will be emailed a receipt for this transaction from paypal.
 Credit Card Payment Mothod - Note:If you don't have a paypal account,you also need not to register a paypal account, Paypal also can accept the credit card directly now!(Visa, MasterCard, Discover, and American Express), Debit Card, or E-check (i.e. using your regular Bank Account)).
 1 year warranty, 30 days Money Back,Ship fast from UK warehouse!
How to Replace a Laptop LCD Cable for ACER 50.47N01.001 ?
- Replacing the ACER 50.47N01.001 LCD cable in a laptop can be very labour-intensive, but it does not have to be difficult or intimidating. The LCD cable, also called a video cable, carries data and information from the laptop motherboard to the laptop LCD screen. With a little preparation and the proper workspace and tools, the procedure to replace the cable can be fairly smooth.
- Preparation/Tools:Preparing a work space is critical to the success of this project. You will be removing several small and important parts from your laptop at different stages, as well as many tiny screws. Find a well-lit area that is capable of supporting a variety of small parts. Gather a collection of cups or other containers to store screws from different sections of the laptop. Necessary tools include a a small Phillips or security bit screwdriver; a thin-tipped standard screwdriver, small sturdy blade, or flexible plastic knife for prying; light-coloured and lint-free cloths to set delicate parts against; and canned air for cleaning.
- Method:When disassembling your laptop, if something won't come apart, do not force it--look for something still screwed together. There will be several kinds of plastic clips holding parts of the shell together. Be patient with the clips and use your flat prying tools to open and separate them. Use a digital camera to take photos as you work; the more pictures you have of your work, the better you will be able to follow your steps backward to safely re-assemble your machine.
- Replacing the ACER 50.47N01.001 Cable:The LCD cable runs between the screen and the motherboard of the laptop. It is usually a flat ribbon-cable that is folded in a complicated manner to go around or through one of the hinges in a laptop. Removing the cable requires the removal of all of the screws from the base of the laptop and all of the screws in the lid. Once the base is unscrewed, the keyboard and upper half of the base (often called the palm rest) must be separated from the rest of the laptop to expose the motherboard connector. The lid must also be split, and then the LCD unscrewed from the frame holding it in place. The other end of the LCD cable will connect to the back of the LCD. To replace the cable, disconnect the old cable from the motherboard and LCD and attach the new cable in its place. Reassemble the laptop to safely test the new cable.
- DC025047900 Cable
- DC025060710 Cable
- DC025060910 Cable
- DD00P6LC800 Cable
- 483200-001 Cable
- 484367-001 Cable
- 484371-001 Cable
- 485420-001 Cable
- 50.4AQ03.201 Cable
- 50.4AQ08.101 Cable
- 50.4CN05.101 Cable
- 50.4EK03.001 Cable
- DC020012110 Cable
- DD0BL6LC000 Cable
- DD0BL6LC010 Cable
- DD0BL6LC030 Cable

